How To Remove the Washer and Dryer From Your RV?
Many new RVs have washers and dryers installed, and some include hookups and plumbing that allow you to install washers and dryers as you see fit. If you want to upgrade your RV’s washer and dryer, how do you remove them?
To remove the washer and dryer from your RV, shut off the water and gas in the RV. Unplug the appliances, remove the nails or screws holding them in place, and then take them out of the RV. This process involves a lot of heavy lifting, and you may need an extra set of hands.
Removing a washer and dryer from your RV is a complex process, and this article will explain everything you need to know. Let’s dive right in!
1. Shut Off and Remove the Water and Gas in the RV
The first step involved in removing the washer and dryer from your RV is to shut off the water and gas supply. This is vital because failure to do so can cause flooding and possibly even damage the water systems during removal.
Here’s how to do it:
- Locate the hot and cold water pipes behind the washer.
- Turn the hot and cold valves in a clockwise direction.
- If the water doesn’t shut off or there’s a leak, shut off the RV’s water supply as a whole.
- Alternatively, disconnect the RV from its external water source if you’re boondocking.
It’s important to drain the washer and pipes before moving the appliance. Keep a bucket and drying cloth nearby when disconnecting the relevant valves to catch any spills that could occur during draining.
If the dryer is a gas dryer, you need to take the following steps before moving it:
- Turn off the gas supply.
- Disconnect the gas line, and allow it to air out for a while, making sure the main gas line is definitely off.
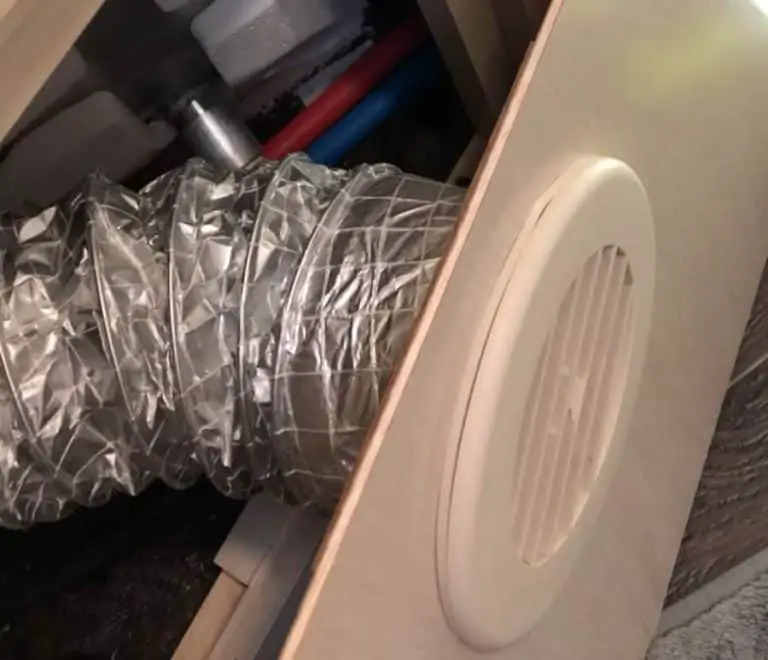
Additionally, every dryer needs the vent pipe disconnected and tucked safely away like the cords.
2. Unplug the Washer and Dryer
It’s vital to unplug all electrical appliances and ensure their cords are fastened in a safe spot. This avoids electrical or physical damage to the cords and plugs when moving the appliances.
It’s also a good idea to switch the plug off at the wall, so there’s no risk of serious damage if there is a water leakage. It’s also better for the electrical system and your own safety.
3. Remove Nails and Screws Holding the Appliances in Place
Washers and dryers in RVs are often situated in cabinets and shelves to save as much space as possible for the inhabitants. This is convenient, but it can also make moving and working on the appliances feel impossible. In that case. you’ll need to remove some things.
If your washer and dryer are resting on a shelf with no doors or brackets holding the appliances in place and obstructing their removal, this isn’t a step you need to concern yourself with.
However, if brackets and other items are securing the appliances in place, they need to be removed to get the washer and dryer out without damaging anything in the RV.
The below video by Freedom Tour explains how to remove obstructions to get a washer and dryer through a space:
Tools you’ll need to remove brackets and other obstructions include the following:
- A power drill and screwdriver to remove the screws.
- Pliers to remove tough nails.
- Safety glasses to protect your eyes from flying debris.
- A box to store the screws and small parts.
4. Remove the Washer and Dryer From the RV
Most RVs are quite small and thus have limited space to move large appliances like washers and dryers around freely without bumping into and potentially damaging other items in the RV.
Measure your door width to make sure it will fit out of the door, you may need to remove your washer and dryer out of your emergency exit window as a plan B which will take a few more people to help.
The best way to move these appliances is to remove furniture and smaller appliances in the way. For example, if a window valance is causing an obstruction that prevents you from removing the dryer, then removing the valance is the most effective action plan.
There is another option, however. You can disassemble a washer and dryer to make it easy to fit through a door or small space. It’s not the hardest job, but it does take several steps.
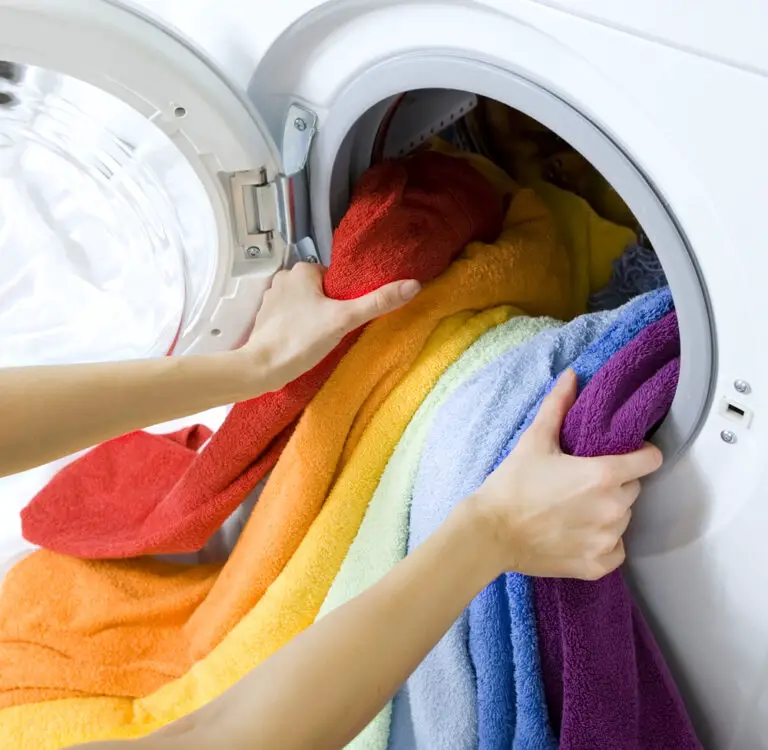
How to Clean Washers and Dryers for Storage
Whether you’re removing the appliances because they’re taking up unnecessary space or you’re going to sell them at some stage, there’s a particular way to clean and wrap washers and dryers before giving them a send-off.
To give a washer a thorough, final wash, follow these steps:
- Empty the washer. Make sure that there’s nothing inside the machine that could inhibit the cleaning process.
- Run a hot cycle with vinegar or baking soda. This combination removes the possibility for bacteria to grow and deodorizes the washing machine.
- Scrub the machine using the aforementioned mixture. Be sure to remove any kind of grime and old soap or softener.
- Wipe down the inside of the washer to remove excess soap. Allow it to dry out properly before putting it in storage.
Cleaning a dryer entails the following:
- Remove the lint from the lint trap. Removing lint allows for air to flow freely.
- Clean any leftover debris from previous loads. Vacuum any bits and pieces, and gently wipe down the inside drum using a microfiber cloth and soapy water. For gas dryers, ensure the soap is non-flammable.
- Tumble a load of clean laundry to dry the dryer. Be sure not to leave any soapy residue behind that could get on the clean laundry.
- Detach the clamps and clean the vent. Clean out large pieces of lint with your hands, and then use a vacuum or dryer cleaning brush to remove smaller fragments.
- Reattach the dryer and run a cycle. Let it run for 10 to 15 minutes to get any remaining dust out of the dryer before putting it away.
Not all RV parks have laundry facilities. Find out how to determine or wash without machines in this article.
Wrap Up
Removing bulky appliances like washing machines and dryers isn’t a job to be underestimated, but with these easy and comprehensive steps, you’ll have it done in no time. Happy moving!
Be the first to be notified about FREE tips, hints, coupon codes, and email-exclusive information. All for FREE!