How to Inspect, Care, Seal, and Repair an RV Roof
Maintaining your RV roof is an important part of caring for your “home away from home.” You should regularly inspect, care, seal, and repair your roof to avoid long term and costly damage. Having a sturdy and leak free roof will also make your travels more comfortable.
Here is a comprehensive guide to keeping the roof over your head throughout your camping adventures! RV roofs vary in material, but the general principles remain the same. Follow these steps regularly in order to get the most out of your RV. Keep in mind that despite their sturdiness, RV roofs are easily damaged by wear and tear, and one tiny leak can mean thousands of dollars of damage. However, a well maintained roof can last you 20 or more years!
Tip: Your RV may have a warranty that covers the roof (up to a certain year). Make sure to check, this may be helpful for more serious damage.
How to Inspect your RV Roof
Before doing anything, you need to inspect your RV. This can be done at the same time as cleaning, and/or if you expect there is an issue with your roof. Either way, make sure to inspect your RV regularly, and especially after strong weather or run ins with branches! Follow these steps to complete a thorough inspection. Even the smallest scratch or tear can turn into a devastating problem.
- Head up to the roof. The first step in this process is to make sure you can actually get up to see and repair your roof. Make sure you have a ladder, or that your RV’s ladder is stable. If needed, you can purchase an RV ladder, our favorite is the 12.5' Ohuhu Telescoping Ladder Double check that your roof is strong enough to walk or lean on. Enlist the help of a second person to spot you and prevent accidents!
- Look for cracks, holes, tears. You should inspect your RV’s roof every 3-6 months and for damage after any trip, storm, or branch impact. The first step is to get up to the roof and do a visual inspection for cracks, holes, or tears. If you find an issue, it’s important to address it immediately. If water gets into a crack, hole, or tear, it can cause mold or mildew. Water can also freeze and expand, worsening any issues.
- Inspect caulking around roof seams. Look closely at any seals or seams. Newer models of RVs will have less of these, but seams can still be found where the roof piece meets the RV sides. Look for cracking, as well as general wear and tear. If you see any of these issues, fix the caulking (see “Seal and Repair”) or have a professional fix it.
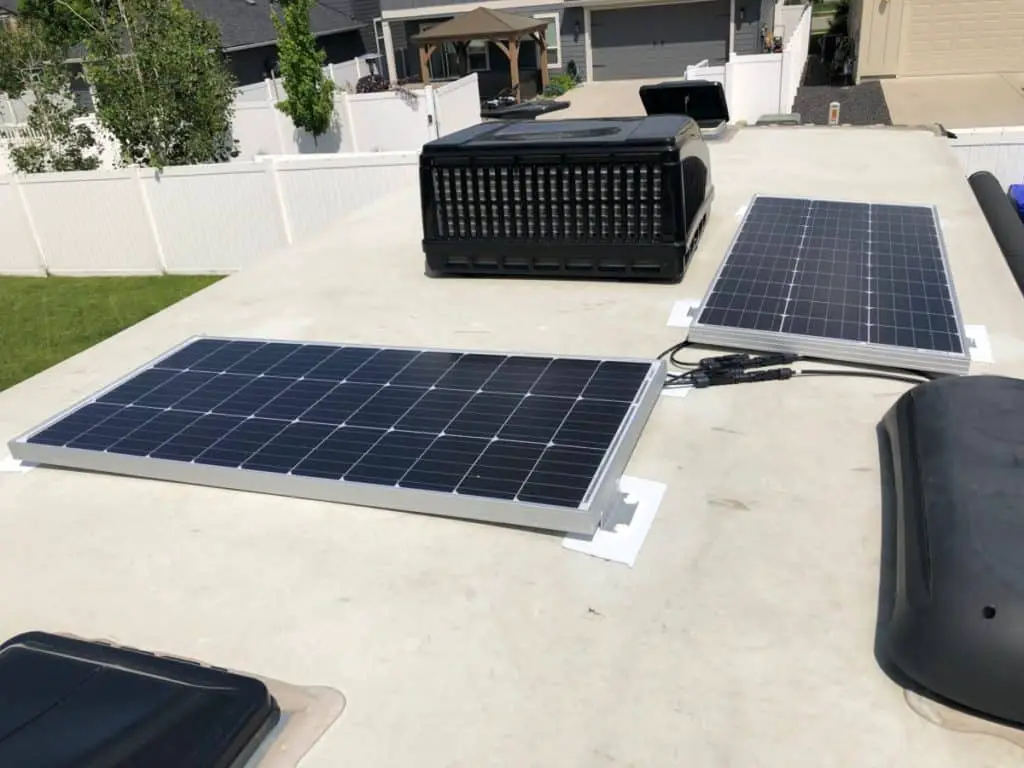
- Inspect any penetrations around vents, solar panels, a/c units, etc. Don’t forget to also look at the seals around other areas of your RV roof. Similarly to caulking and roof seams, check for cracking and wear and tear. Be prepared to fix this yourself or take your RV to a professional.
- Check inside. It’s important to check inside your trailer for serious water damage due to roof issues. Look for bubbles, irregularities, sagging, or soft spots in the ceiling of your RV. Be sure to scrutinize edges. If you find damage you may need to get a professional opinion, and you may need to do major roof repairs.
Tip: Work systematically (back to front or front to back) when inspecting your RV’s roof. Mark off any issues you see with marker or brightly colored tape, and/or take pictures. This will help you to go back and fix the issues that you spot.
RV Roof Care
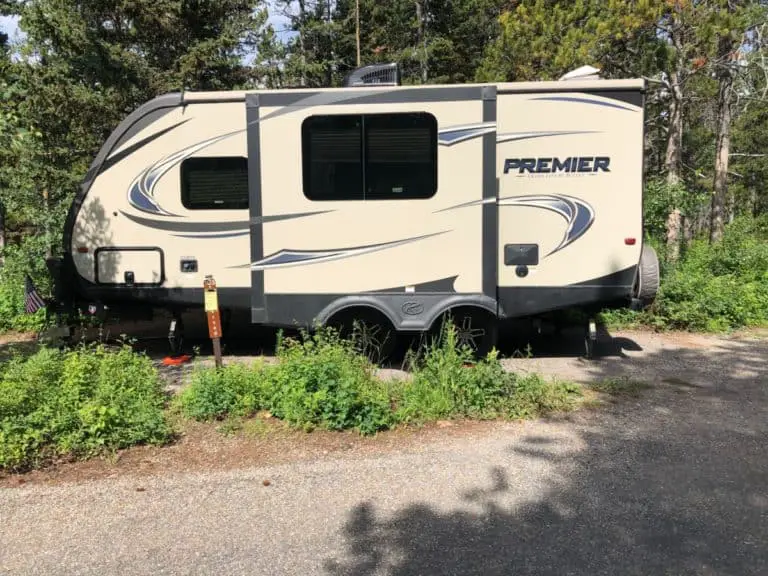
Caring for your RV includes preventative measures that will help to avoid major issues down the line. The two essential components of care are cleaning and covering your RV. Make sure to clean and choose a cover based on the type and material of your RV. Like with inspections, you should clean your RV regularly. After each trip or at least twice a year is ideal.
Keep it Clean
Most RV roofs are made of rubber (EDPM or TPO), fiberglass/pvc, or metal (primarily aluminum). The first step in the cleaning process is to identify which type of RV you have! For all types of roofs, you first need to sweep or wipe off the roof, and then hose it down. You can also use this time to inspect for damage. Use a brush or mop and cleaner to wash the roof, and make sure to rinse. Long handled brushes are good for this purpose, but make sure to pick one that isn’t too abrasive.
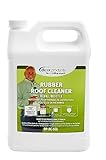
For rubber roofs you need to be careful when deciding on a cleaning solution. Make sure to choose one without petroleum, abrasive materials, or citrus. Here is one cleaner option. You can also use an EPDM (Ethylene Propylene Diene Monomer) coating or roof sealer. This is a good preventative measure to maintain your rubber roof. (Never use a pressure washer to clean your roof or it will cause permanent damage)
Last update on 2026-06-22 / Affiliate links / Images from Amazon Product Advertising API
With fiberglass roofs, you have more flexibility with cleaners, and can use a more abrasive cleaner for stains or oxidation. Here is one highly rated cleaner or you can use Star Brite Cleaner. Unlike rubber roofs, you also need to use a protectant to avoid oxidation. If you’re not using wax, use a protectant, such as 303 Aerospace Protectant.
If you have a metal RV roof, you can use a general cleaner like RV Soap or Simple Green. Use a product such as a metal roof coating to finish your roof.
There are also sealants that work on most types of RV roofs, which can be applied (after cleaning) to protect and extend the life of your roof. Dicor Roof Coating is one such product that works on rubber or EDPM roofs, that only requires one coat.

Last update on 2026-06-22 / Affiliate links / Images from Amazon Product Advertising API
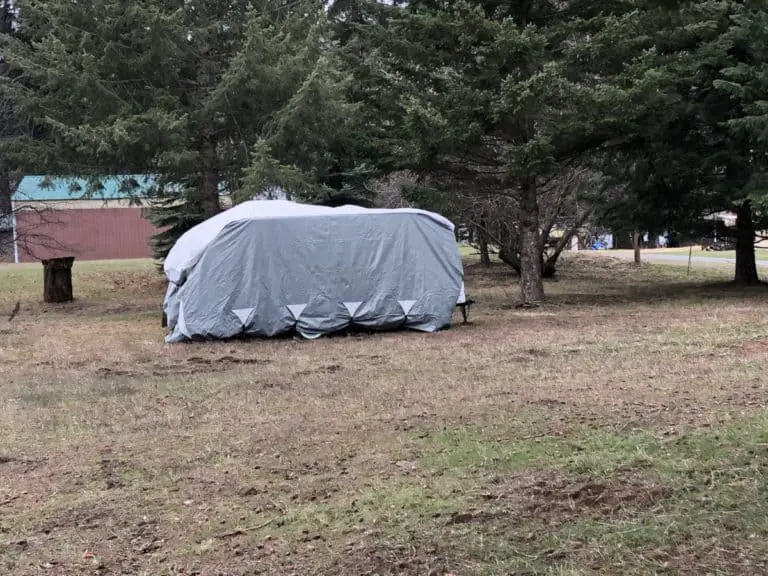
Keep it Covered
An RV cover is an important investment towards the longevity of your RV. Covers not only protect against precipitation, but they also protect your RV from sun damage and temperature spikes. This is essential if your RV is stored outside. If you store your vehicle inside, it’s still a good idea to use a cover, in case of leaks within the storage area, or critters that may creep in. Another benefit of a cover- it will protect your paint/graphics, and will make cleaning easier!
A good cover will cost you a couple of hundred dollars. You can purchase one on a specialty website or Amazon. There are also custom options available. Here is our favorite cover. Choose your cover wisely, certain types of materials (such as tarps) can actually do damage. They can cause scratching and plastic damage, and trap moisture. For more information about RV covers, check out our article about covering your trailer in the winter.

Last update on 2026-06-22 / Affiliate links / Images from Amazon Product Advertising API
Tip: Make sure to clean your roof before making repairs or covering it! When cleaning, use a circular motion and rinse regularly (the sides as well) in order to avoid spots and streaking.
Seal and Repair
If you have wear and tear, you must seal and repair your RV roof to extend its life. Eternabond tape and Dicor Self Leveling Sealant are two of our favorite products. With major leaks and tears, you may even have to patch or replace your roof, or take it to a professional.
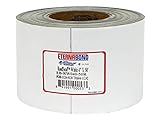
Eternabond Tape. This tape is economical, easy to install, and can be used to repair leaks and tears on RV roofs. In addition, it can be used on any type of roof. This tape comes in a roll and can be cut to fit the area that needs sealing. The versatility and effectiveness makes it such a great option for RV roof maintenance!
Last update on 2026-06-22 / Affiliate links / Images from Amazon Product Advertising API
In order to use Eternabond, you must clean the surface, but you don’t have to take off old sealant, the tape will work on top of it. Be careful when laying the tape, it sticks very well and it’s not easy to pull back up. Apply pressure and rub the tape, or use a roller to do this. Seam rollers are cheap and can be found at most hardware stores. If there’s bubbles you can use a pin, or cut and reseal the tape (with additional Eternabond tape). This tape is supposed to last 18-35 years, and has a shelf life of five years.
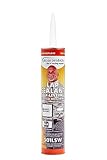
Dicor Self Leveling Sealant. You can also use sealant, such as Dicor Self Leveling Sealant, to fix seals and caulking. This prevents future leaks, and also helps with securing equipment (such as vents and AC units) on your roof. Before purchasing a sealant/caulk, take into account the weather in which you live in and travel. Different caulks are available for different climates, types of RVs, etc. Dicor is an effective and versatile option.
Last update on 2026-06-22 / Affiliate links / Images from Amazon Product Advertising API
To use this you must remove old sealant (unless it’s just cracked, it which case you can reseal in the cracks). Use denatured alcohol or a primer to clean the area before applying new sealant. The sealant can be applied with a caulking gun or a similar piece of equipment. It’s also a good idea to apply a second coat. Make sure to allow it time to dry!
Major repairs. If your roof needs major repairs (fixing damage that reached the roof’s plywood) and you’re handy, you can do the work yourself. You’ll need new plywood and a new roof membrane. First remove anything on your RV roofs (AC unit, antennae, rack, etc.) and the roof membrane. Next you have to replace the plywood if it is water damaged, attach the new roof membrane, and seal/caulk. Keep in mind that you’ll have to do framework around accessories.
Tip: If there has been roof structural damage you will need to have that repaired (by doing it yourself or getting it professionally done), prior to doing any external repairs or sealing.
Keeping the roof over your head
If your roof is past repair, you can have it completely replaced. However, this is expensive (thousands of dollars!) and should be avoided. Use prevention methods to steer clear of costly damage. Regularly inspect, care, seal, and repair your roof to keep your RV in good shape and your travels comfortable (and dry!). Check your materials and cleaning products, make sure to use products that work for your type of roof and RV.
If you take care of your RV roof, it can last you 20 or more years. For additional information on roof maintenance and longevity, check out our guide to how long an RV roof should last. A little maintenance can go a long way.
Camp on!
Be the first to be notified about FREE tips, hints, coupon codes, and email-exclusive information. All for FREE!