How To Fix an Open Ground on My RV: A Step-By-Step Guide
An open ground in an RV electrical system can be both frustrating and potentially dangerous for RV owners. It is vital to address this issue as soon as possible to ensure the safety and proper functioning of the electrical components inside the RV.
Open ground on an RV means that your vehicle has somehow lost its grounding connection. This is what connects the RV to the earth, removing excess charge and protecting you and your appliances. Naturally, losing this can be dangerous, so how do you fix open ground on your RV?
To fix open ground on your RV, first determine if the problem comes from your power source or the RV. You can simply substitute a faulty power source, but faulty RV wiring must be repaired or replaced.
While an open ground may seem like a daunting issue to tackle, with some basic knowledge and the right tools, RV owners can resolve the problem effectively.
To fix an open ground, one must first understand what an open ground is and how it can impact the electrical system within an RV. An open ground occurs when there is a break or disconnection in the grounding path, leading to a lack of proper grounding for the electrical circuits. This can result in unpredictable electrical behavior, shocks, and even fires if left unattended.
Identifying an Open Ground Issue
Symptoms and Signs
An open ground issue in an RV may manifest in various ways. Some common symptoms and signs include:
- Inconsistent or flickering power to appliances
- Tripping circuit breakers or GFCIs
- Electrical shocks when touching metal parts of the RV
- Unusual humming or buzzing noises from appliances or outlets
These symptoms indicate a potential issue with the electrical system, and it’s essential to diagnose and resolve an open ground to ensure safety and proper functionality.
Poor Power Source
In most cases, the latter is usually the problem and is far easier to fix. So, that’s what we’ll test for first.
To be sure if the power source is the cause, disconnect from your current shore power and try another. If you’re using an RV generator, try another generator.
If you don’t get the open-ground warning, then congratulations. Your problem is solved!
Unfortunately, you might still have the problem. If you do, it’s time to look at the alternative which is a problem in your RV. This can be much harder to fix.
Using a Receptacle Tester
A receptacle tester like this is a handy tool for diagnosing open ground issues in an RV. Follow these steps to use a receptacle tester effectively:
- Turn off appliances: Make sure to unplug all appliances from the RV’s outlets before testing.
- Insert the tester: Plug the receptacle tester into each outlet in the RV. The tester will usually have multiple lights or indicators to display the outlet’s status.
- Interpret the results: Check the readings on the tester’s lights or indicators to determine if there is an open ground. Common results include:
- Normal: All lights on or specific lights indicating a proper ground connection
- Open ground: One or more lights off or specific lights indicating a missing or improper ground connection, or the tester will alert you if you have a digital model like this.
- Assess all outlets: Repeat the process for every outlet in the RV, noting any open ground issues.
By identifying the symptoms and signs of an open ground and using a receptacle tester, RV owners can diagnose the issue and take the necessary steps to fix it.
How to Fix an Open Ground in RV Wiring
Check RV Outlets for Proper Grounding
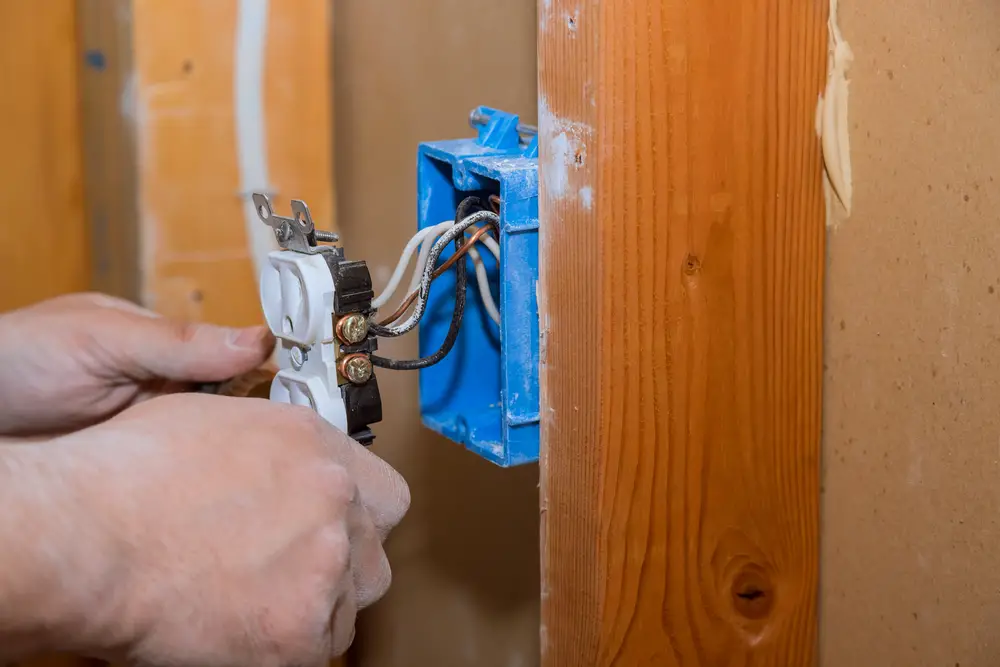
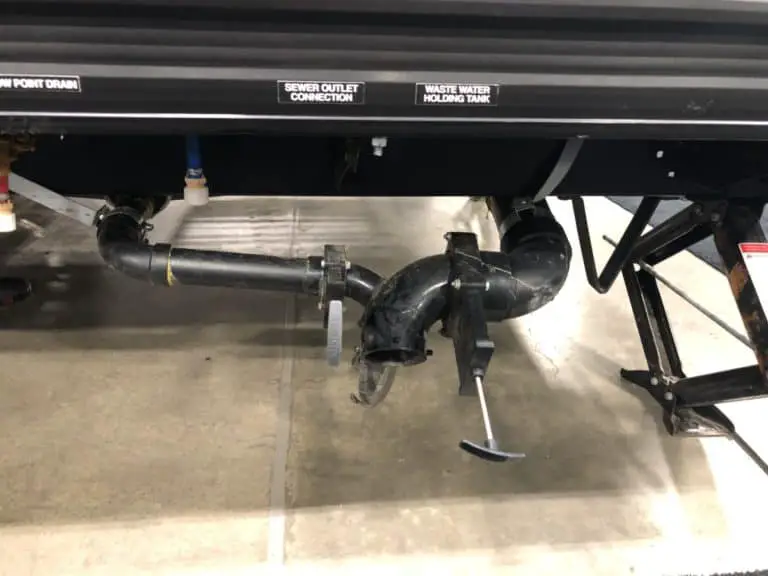
First, unplug your RV or travel trailer from shore power and make sure any inverters are off. Next unscrew each outlet one by one and look behind lat the wiring in your RV to ensure all of the wiring is connected properly and that there is not a ground wire touching any of the other hot or neutral wires.
The following video is for a house, but it is the same concept as your RV.
Inspecting the Ground Wire
Begin by locating the ground wire in your RV’s wiring. This is typically a green or bare wire that connects to the metal frame of the vehicle. Once you’ve found the ground wire, check it for damage or loose connections. If there are any signs of wear, such as frayed or exposed wires, they should be repaired with electrical tape or replaced altogether.
Check RV Breaker Panel
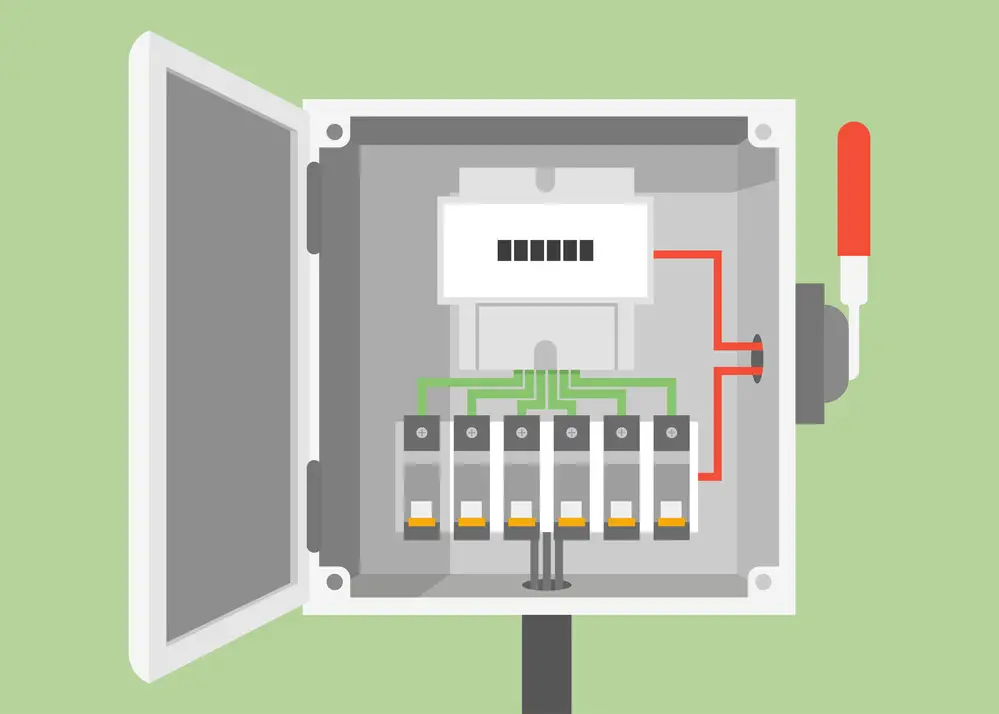
Next after looking at all of your outlet wiring and if it all looks good, pull your breaker panel cover.(make sure you are unplugged and there is no power going to your RV) Look at your ground wire lugs to see if there is any wire going from your ground plug to a neutral or hot wire.
If you check all of your outlets electrical wiring and breakers and don’t see anything wrong, move on to look at your wiring from outlet to outlet. This will be difficult.
Finding and Repairing Broken Wires
Identify any broken wires within the RV’s electrical system. Look for signs of wear, such as frayed insulation or a damaged wire casing. Repair these wires by splicing in a new section of wire, using a wire stripper to remove a segment of insulation. Connect the new wire to the existing wire using a butt connector or wire nut. Finally, wrap the repaired area with electrical tape to ensure a secure connection.
– Step 1: Locate broken wire
– Step 2: Strip and prepare both ends of the wire
– Step 3: Splice in a new section of wire using a butt connector or wire nut
– Step 4: Wrap repair area with electrical tape
Checking Continuity
Once all wires have been inspected and any necessary repairs made, test the continuity of the connections. To do this, use a multimeter with a continuity setting. Connect one probe to the ground wire and the other to a suitable grounding location, like the RV’s metal frame. If the multimeter displays a resistance value close to zero, the ground connection is functioning properly. If not, continue searching for any additional issues with the wiring and make necessary repairs.
| Multimeter Reading | Ground Connection Status |
|--------------------|--------------------------|
| Close to Zero      | Properly functioning     |
| High resistance    | Issue with ground wiring |
By following these steps, you can effectively diagnose and repair an open ground in your RV’s wiring, ensuring the safety and functionality of your electrical system.
RV Grounding and Its Importance
Neutral, Hot, and Ground Wires
In an RV electrical system, there are three important wires: neutral, hot, and ground. The neutral wire is a return path for the electric current and completes the circuit. The hot wire provides the power supply, while the ground wire offers a safety path for stray electrical currents, leading them safely to the ground. All three wires play a crucial role in ensuring the safe and efficient functioning of an RV’s electrical system.
Bonding and Safety Features
Bonding involves connecting the metallic components of an RV, such as the chassis and other conductive parts, to the ground wire. This connection ensures that any stray electrical currents are safely directed to the ground, preventing shocks or electrocution. Moreover, proper bonding helps in reducing the risk of electrical fires, equipment damage, and other potential hazards.
Safety features like circuit breakers and Ground Fault Circuit Interrupters (GFCIs) in an RV’s electrical system provide additional protection. These devices are designed to detect irregularities in the electrical flow and quickly cut off the power supply in response to potential risks.
Understanding and maintaining proper RV grounding is essential to ensure safety and optimal performance of your vehicle’s electrical system. Regular inspections and timely repairs can help prevent open ground issues and keep your RV safe and functional.
RV Electrical System Components
Electrical Panel and Breaker Box
The electrical panel and breaker box in an RV function as the central hub for managing power supply. The electrical panel controls the distribution of electricity throughout the RV by delivering the correct voltage to each circuit. The breaker box houses individual circuit breakers, which protect the wiring and appliances from damage in case of an electrical fault or overload.
The electrical panel may also include a generator input, allowing for continuous power supply when off grid. An RV’s circuit breaker is designed to trip when it detects irregularities in the electrical system, effectively preventing short circuits or potential fires.
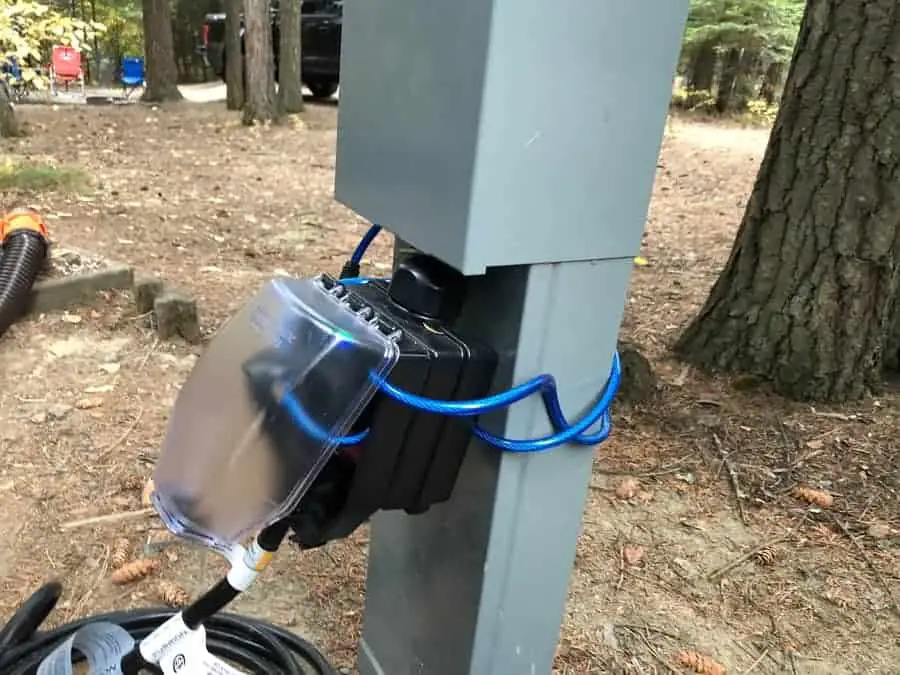
Pedestal and Shore Power
Pedestal and shore power refer to the external power source provided at RV parks or campgrounds. The pedestal contains a power receptacle that matches the RV’s power cord, allowing for a connection to the park or campground’s electrical grid. Shore power sources typically offer either 30-amp or 50-amp service, depending on the RV’s requirements.
Connecting to the pedestal ensures a continuous supply of electricity to the RV, which is crucial for maintaining voltage levels and the proper functioning of all electrical components. It is important to select the right service for your RV and to ensure proper connection. Always inspect the receptacle and power cord for signs of wear, as damaged components may result in loss of power or electrical hazards.
GFCI Outlets and Surge Protectors
Ground Fault Circuit Interrupter (GFCI) outlets are an essential safety feature in RVs. GFCI outlets constantly monitor the flow of electricity, interrupting the circuit if there is an imbalance to prevent potential dangers such as electrocution or equipment damage.
By contrast, surge protectors help to safeguard an RV’s electrical system from voltage spikes and fluctuations in the external power supply. Installing a quality surge protector between the shore power pedestal and the RV’s electrical panel is strongly recommended to prevent damage to the electrical system and appliances.
Moreover, an Electrical Management System (EMS) may be employed to monitor voltage levels and current loads in real-time, safeguarding the RV’s circuits and appliances from damage. This additional layer of protection can save RV owners significant repair costs in the event of an electrical fault.
Additional Safety Tips and Precautions
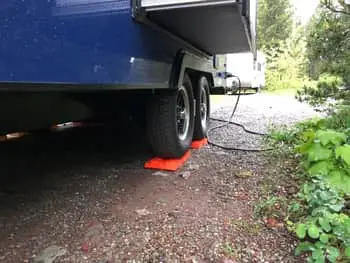
Using Grounding Rods
When RV camping, it’s essential to use a grounding rod to help protect your vehicle and its occupants from potential ground faults. A grounding rod is a metal rod that is driven into the ground to create a path for electrical currents to flow safely into the earth. This reduces the risk of electrical shock and damage to your RV. To ensure proper grounding, follow these steps:
- Choose a suitable location for the grounding rod, away from underground utilities.
- Drive the rod into the ground using a hammer or mallet, leaving about 6 inches exposed above the ground.
- Attach a grounding wire from the RV’s grounding system to the exposed end of the rod using a cable clamp or terminal.
Checking for Proper Voltage
Proper voltage is crucial for the safe operation of your RV’s electrical system. Variations in voltage can cause damage to appliances and electronics, so it’s essential to regularly check the voltage levels of the power source you’re connected to. Here are some steps to ensure proper voltage:
- Use a digital voltmeter to measure the voltage at the power input of your RV.
- Compare the reading to the acceptable range specified in your RV’s manual.
- If the voltage is outside that range, disconnect the power supply and consult a professional.
Investing in a Quality Surge Guard
A surge guard is a device that protects your RV’s electrical system from sudden voltage spikes, which can cause severe damage to appliances and electronics. Investing in a quality surge guard is an essential safety precaution for any RV owner. Here are some features to look for in a surge guard:
- Automatic shut-off functionality: The surge guard should automatically disconnect power when it detects a voltage issue.
- Voltage protection: Ensure the surge guard provides protection against both high and low voltage situations.
- Circuit analysis: Opt for a model that provides real-time monitoring and analysis of your RV’s electrical system.
By following these safety tips and precautions, you’ll be more prepared to identify and address open ground issues in your RV, ensuring a safer and more enjoyable experience for all.
Potential Dangers and Risks
Electrocution and Hot Wires
An open ground in an RV can expose occupants to a variety of dangers, especially electrocution. When the electrical system is improperly grounded, the resistance in the circuit increases, causing an uncontrolled flow of electrical current. This can result in hot wires that are dangerous to touch and can potentially cause electrocution.
Additionally, metal components inside the RV can inadvertently become electrical conductors if the open ground issue is not resolved. This creates a heightened risk of electric shock for anyone who comes in contact with these conductive surfaces.
Electrical Fires
Another significant concern with an open ground in an RV is the possibility of electrical fires. An ungrounded electrical system allows current to flow erratically, leading to excessive heat buildup in wires, components, and appliances. Without proper grounding, this heat can cause insulation to melt and potentially ignite an electrical fire.
To summarize, fixing an open ground in an RV is crucial for preventing potential dangers and risks, such as electrocution from hot wires, and electrical fires. By addressing the open ground issue, RV owners can ensure the safety and well-being of their families and fellow travelers.
Proper Installation and Maintenance
Securing Wires with Screws and Lugs
Proper installation and maintenance of an RV’s electrical system are essential to fix an open ground. The first step is securing wires with screws and lugs. Ensure that all connections are tightly fastened at the electrical panel and grounding points to prevent open grounds. Loose screws and lugs can cause intermittent electrical issues within the RV. Regularly inspect and tighten these connections as needed.
Selecting the Correct Wire Gauge
Another important aspect is selecting the correct wire gauge for your RV’s electrical system. Using the right gauge of wire ensures efficient power distribution and minimizes potential issues. Refer to the manufacturer’s recommendations or consult an electrician to determine the appropriate gauge for each application. Replace any worn or damaged wires to maintain a safe and efficient electrical system. Properly installed and maintained wires with the correct gauge will greatly reduce the chances of an open ground in your RV.
Be the first to be notified about FREE tips, hints, coupon codes, and email-exclusive information. All for FREE!