How to Store Your RV at Home: The Complete Guide
One question you should ask yourself prior to purchasing a travel trailer, camper, or RV, is where you will store it. Many of us forget that question and have to figure it out after the fact. Here are the facts to consider when storing your RV at home or at a storage unit.
Should you store a RV at Home? Why it can be a good idea.
Should you store your RV at home or at a dedicated storage facility? There are pros and cons to both, but there are several reasons why it can be a fantastic idea to store your RV or travel trailer at home, on your own property.
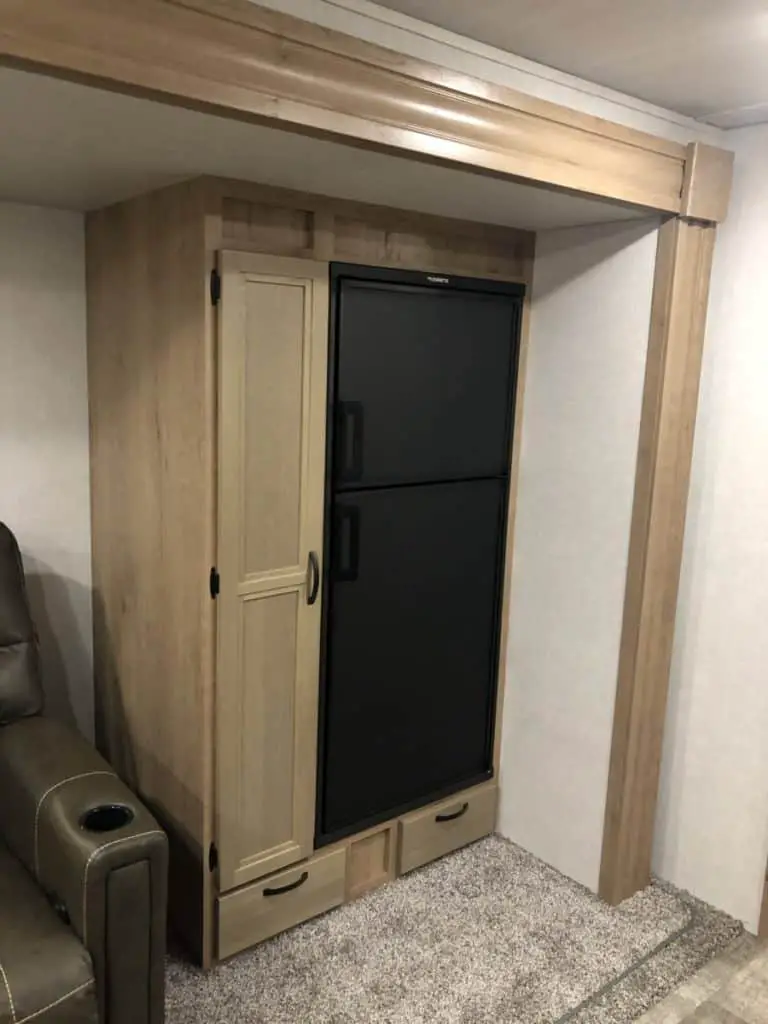
For instance, it is much easier. You can keep all of your appliances plugged in, meaning that you can leave food items in your fridge or utilize other appliances. In addition, if you have several guests visit your home at once, they can sleep, cook, and hang out in the RV, thus essentially creating more space in your home. They will be able to use the fridge, heater, or air conditioning to create a comfortable space to rest and relax. There are several other benefits, as well.
By storing your RV at home, you are also ready to leave with it incredibly quickly. If you get the sudden urge to go on a trip, find out the fish are biting at your favorite fishing hole, or want to see a time-sensitive natural phenomenon, you can. You can be ready to go in the amount of time it takes you to put your things, or your family’s things and some food, in the RV. If you were storing it in a facility, this would not be possible as it would require additional time to go get it, cool down the refrigerator, pack it, etc.
Storage facilities often require advanced notice, or may only allow access from 8 AM to 9 PM which is what ours allows, meaning that you might not be able to get it out right away. Plus, if your RV was in storage, there are likely several systems that need to be gotten ready before departing. This slows you down considerably and makes it less likely for you to be able to leave quickly.
It also saves money to store your RV on your property if possible. Storing an RV, even in the most basic facility can cost at least $50 dollars a month in the United States, essentially an extra phone bill. If you want security, heating, or any other amenities, however, it can be upwards of $450 per month. This is a considerable investment that may limit the amount of trips you will be able to take, so it is likely a better idea for you to store RV at home.
By using a facility, you also forfeit your ability to be able to check on your camper constantly without the hassle of driving to your offsite storage unit, which can make some owners uneasy. By keeping your camper at home, you can check on it and work on it whenever you like, a great benefit.
In addition to being able to go at a moments notice, you will likely perform more routine maintenance due to the convenience of having the trailer handy. In our experience, whenever we take our trailer out of storage, we are getting ready for a trip, not thinking about resealing windows or patching the roof.
Can you store your Travel Trailer at home?
It seems likely storing a travel trailer at home is a beneficial way to house it during the off-season, but it is not possible for everyone. First of all, do you have enough space? If you live in an apartment or your house is on a small lot, it is likely that you won’t have enough space to store your RV. Additionally, if you live in an apartment or have a HOA, there are likely rules to prevent you from doing so. Consider where you would like to park your RV, if you have determined that you have enough room.
Driveway
- Pros:
- Save Money
- Less likely to get vandalized
- Quick Access
- Cons:
- HOA Rules
- Managing vehicles in Driveway
- Upset Neighbors
- Theft
One of the most common places to park a camper is the driveway. Undoubtedly, you have driven past many houses that have a camper parked in the driveway. Of course, like anything, there are both pros and cons to this method. Other than saving money, your RV will most likely be much safer in your driveway than it would be in most facilities. Travel trailers are less likely to get vandalized in a driveway than in a storage facility as you can keep a tight watch, obtain insurance, and set up a security camera to always have an eye out. Still, there are safer methods. It is also great to have the RV so close to home as it allows for quick getaways and can act as an extension of your living space.
There are some cons and considerations, however, for storing an RV in your driveway. Firstly, depending on the status of your house, your HOA (homeowner’s association) or your landlord may have rules or preferences about parking an trailer in the driveway. In our area, we are allowed to have our trailer in our driveway for up to 72 hours. Check with them first. The city or town you live in may also have local laws.
How big is your driveway? If you have to do complex steering and take an hour to get it in and out of the driveway without hitting anything… it may be too small of a driveway. Also be sure that there is a way to park your RV without blocking the other, smaller and everyday cars that need to park there as well. This will become annoying very fast, otherwise.
Also assess the safety of your neighborhood, as this can impact where you decide to park. If you have a trailer full of camping gear and a generator, you may find that you could be a target for theft.
Garage
- Pros:
- Save Money
- Least likely to get vandalized or have theft
- Quick Access
- Least likely to have rodents or bugs
- Best Protection from elements
- Cons:
- Larger vehicles may not fit
- Managing other items that need stored in garage
Your garage has the potential to be a great storage place for your travel trailer as well, however as always, there are considerations to be made. Standard size garages will be able to fit most class B and some class C trailers, but anything bigger than 35 feet or taller than 8’6 will likely not fit. But, if your RV is smaller than that, the garage can still be a great option. It is also free, unlike a storage facility.
A garage offers protection for burglars and vandals, as well as from the elements. This can save a lot of money in repairs later down the line. This has the convenience of being able to leave quickly, as this is one of the benefits of home storage.
Despite these fantastic benefits, however, there are some cons about storing an RV in the garage. Garages are often highly coveted storage spaces in more homes, so using the garage for the RV will take up a lot of that space. This means that cars, tools, lawn equipment, bikes, etc. will have to be stored elsewhere – which could be a bit of a conundrum.
If you choose to use the garage, be sure to have a plan for where to store other things. If the garage storage method won’t work for you, there are still other great storage options.
Backyard or Side Yard
- Pros:
- Save Money
- Less likely to get vandalized
- Quick Access
- Cons:
- HOA Rules
- Exposed to Elements
- Upset Neighbors
- Theft
You can consider storing a travel trailer in your backyard. It is not ideal for everyone, but for some owners it may be the perfect location. This offers free storage as well as the convenience of being close to home, but backyard storage probably also has the most negative considerations of any other storage location.
For instance, just as with any other outdoor storage, the RV will be completely exposed to the elements as well as more vulnerable to theft. This can end up costing more money in the long run than a storage facility.
Your neighbors or neighborhood associations may not be pleased with the eyesore of backyard RV storage, but if you live on a large parcel or in a spread out neighborhood, this is no concern. If you are going to go with the backyard or any option outdoors, invest in a cover for your RV to reduce the suns UV rays which will deteriorate your seals and fade your paint. When you store RV in the backyard, wrap the cover around it and make sure that it is secure. This way, the trailer is protected from the elements much better, as well as from creatures that may want to get in. It is not 100% effective, but the cover will still most likely save you money in the long run.
If the backyard is your only option, consider getting a carport built. These can be put in for under $10,000 most of the time, but can provide significant coverage for your trailer. It is not as good as a full garage, but it definitely provides an increase in protection.
Finally, is the backyard pavement, dirt, or gravel. Driving an RV or getting in and out of it in a muddy mess is not necessarily recommended as you will make your RV filthy or get it stuck, so use caution in those scenarios. If you have determined that your backyard may not work, there are other options for storing a camper on your property.
RV Garage or Shop
- Pros:
- Save Money in the long run
- Less likely to get vandalized
- Quick Access
- Protection from Elements
- Cons:
- HOA Rules/ Building Permits
- Costly up front
In extreme cases, you can build a RV garage or shop, or even lean-to covering beside. These will be an investment initially, as a basic steel RV covering costs upwards of $13,000 as well as several hours of labor and permits.
But, these create a designated space for your trailer on your property, as well as helping to keep your RV out of the weather. For covered storage in an RV facility, it will take five and a half years for the home storage to make up the difference in cost. So, this method will save you money, but it will take several years.
Thus, consider this, but realize that money alone is not a good enough reason to build your own shelter. If you were dead set on having a dedicated space on your property for your RV, however, then that is a much better reason.
Offsite Storage for your RV
For some people, in some scenarios, RV storage may be the best option. There are three different types of storage at an RV facility, and they are outdoor, covered, and indoor. Outdoor is the most common and least expensive, but it also has the least amount of protection overall.
Outdoor Storage Facility
An outdoor storage at an RV facility is the cheapest method of professional storing on the market. The RVs are usually parked in a big parking lot and surrounded by a large barbed wire fence protected with a gate with an access code. This can keep out thieves and vandals. Some of these facilities also have guards, but not all of them do.
Additionally, you may not be able to get your RV out of these places as quickly, which is less convenient. At the storage yard we use, we only have access from 8AM to 9PM. Taking a last minute trip in the middle of the night or early morning is just not possible. In this outdoor storage, they are also exposed to the elements, which as discussed, can be damaging so make sure to cover your RV as well as tires to protect it from the elements.
Covered Storage Facility
Covered RV storage at a facility is a middle ground between indoor and outdoor storage. In general these parts of the facility will be covered by a big roof or awning, not unlike a carport. This is more expensive than the outdoor options, but not as expensive as the indoor options. It boasts the same security benefits, as well as added protection from the elements. While the awning will help with weather including snow and rain, it is not completely effective as the RV will still be exposed on the sides and can still allow insects or rodents to attack. Still, it is better than nothing and can help your RV stay safer.
Indoor Storage Facility
Finally, there is the option of storing a camper in an indoor storage facility. These are the most expensive way to store your RV, but they are also one of the best ways to store them. This is the most secure option, as your RV will be behind at least one locked door, as well as guards and security cameras. It will also be completely protected from the weather.
Some facilities, but not all, offer 24 hour access to indoor storage, which means that you can still benefit from the convenience of being able to leave whenever you want but still have your trailer in storage. These types of facilities are expensive, as they usually run upwards of $400 monthly, or more. Some RVs won’t fit, usually bigger class A or class C RVs, so be sure to measure before signing up.
These types of facilities can be hard to find, however, but they offer things that you would likely be unable to create at home, such as advanced security. Indoor storage can be a single garage door which will fit your RV as part of a larger building, but it could be a large building such as an old airplane hanger or big box store where multiple units are stored. If this is the case, sometimes you will need a week or so notice in able to extract your RV as they may need to shift their inventory in able to get your unit out.
Storage Tips
Hopefully, this article has helped you decide where you want to park your RV. Once you have decided on where you want to store it, there are several things that need to be done to prepare it for storage. First and foremost, assess where you want to park and make absolute certain that the site is level. If it is not, this can cause serious issues down the line as many components in your RV need to be level to work in the case you leave it plugged in.
In addition, make sure that the ground below the trailer is compacted and stable, but to be sure.
Preparing your Travel Trailer or RV for storage
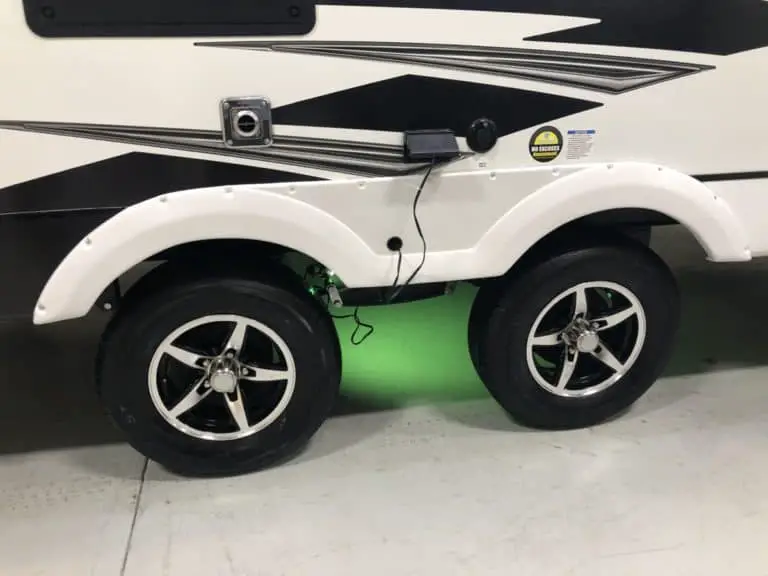
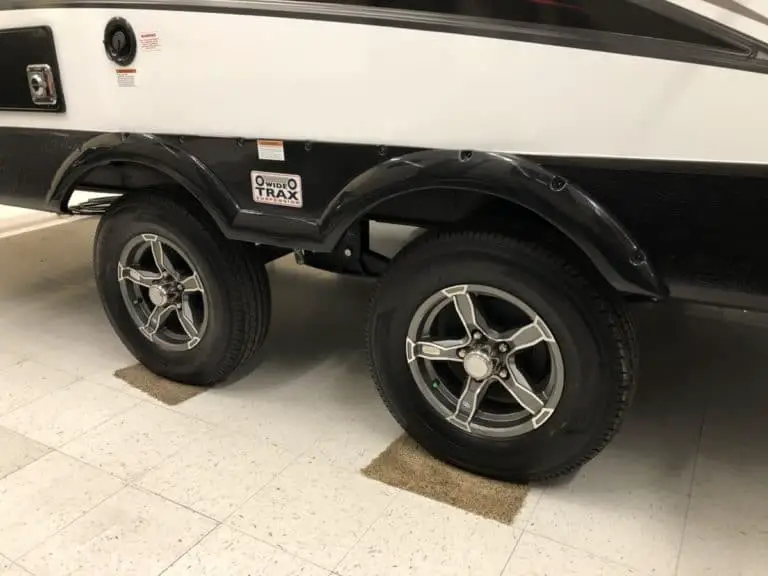
Once the RV is parked in a secure place, it is then time to prepare it for storage. The first step is to wash the outside thoroughly. This includes the wheels, wheel wells, and any other neglected areas. In addition to this, clean out the interior. If you are not going to be using it while it is in storage, remove all traces of food so that it does not attract animals or other creepy crawlies. Vacuum the carpets and disinfect everything. Basically, try to get the inside looking as nice as it did the day you bought the trailer so it is easier and quicker to take your next trip.
Fresh Water, Black, Grey Tanks
The next step in getting your RV ready for storage is to prepare the water system. This means all of the drains, pumps, tanks, and faucets in the vehicle. You should also clean and sanitize your fresh water tank prior to putting your RV into storage and after or about every 6 months. To do this, drain all of the fresh water tanks in the RV and fill the fresh water tank three quarters of the way full. After this, pour in a cup of bleach and let it sit for 20-30 minutes total and then drain. Refill it to the same level and add bleach a second time, but this time, only let it sit for 10-15 minutes. After draining it for the second time, continue to flush the tank with clean water until you don’t smell the bleach chemicals anymore. Make sure to drain all of the remaining water, even on your drive to storage, leave your fresh water dump open so all of the remaining water sloshes out. Read our fresh water guide to learn all of the ins and outs of the fresh water tank.
This will keep your water tank from freezing in the winter and ensures that there are no harmful bacteria hiding in there.
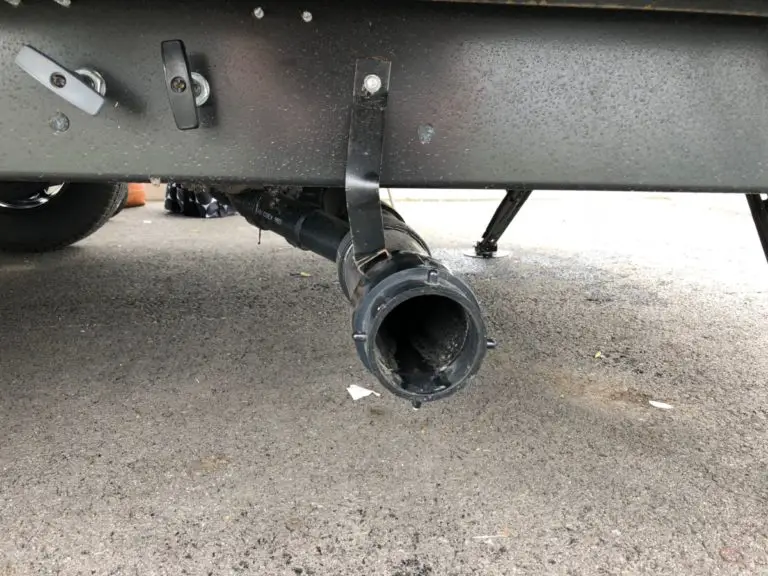
For the black water and grey water tanks, use an enzyme cleaner. This will rid the tanks of any built up solid waste as well as harmful bacteria. Different types of enzyme cleaners will have different instructions, but in general, it is best to follow the cleaner tab up with a gallon of water to flush everything out afterwards. Make sure to always dump the black water tank before the grey water tank so the grey water can flush out your sewer hose.
Finally, you can either leave your tanks empty during storage, or fill them with some antifreeze. It is recommended that you leave them empty, however, because the antifreeze may require additional work to flush your fresh water system once you take the RV out of storage, but the choice is yours.
Heating System
For your heating system, be aware that several different types of insects and small animals are attracted to the smell of natural gas. The specific creatures will obviously depend on your geographic location, but it is best to deter them from entering the heating system of the RV at all. Cover all of the vents and intakes of the heating system with a porous cover, such as this recommended one here. This will allow harmful odors that you don’t want building up in the RV to escape, but keep out wasps, marmots, or other creatures.
Clean your Roof
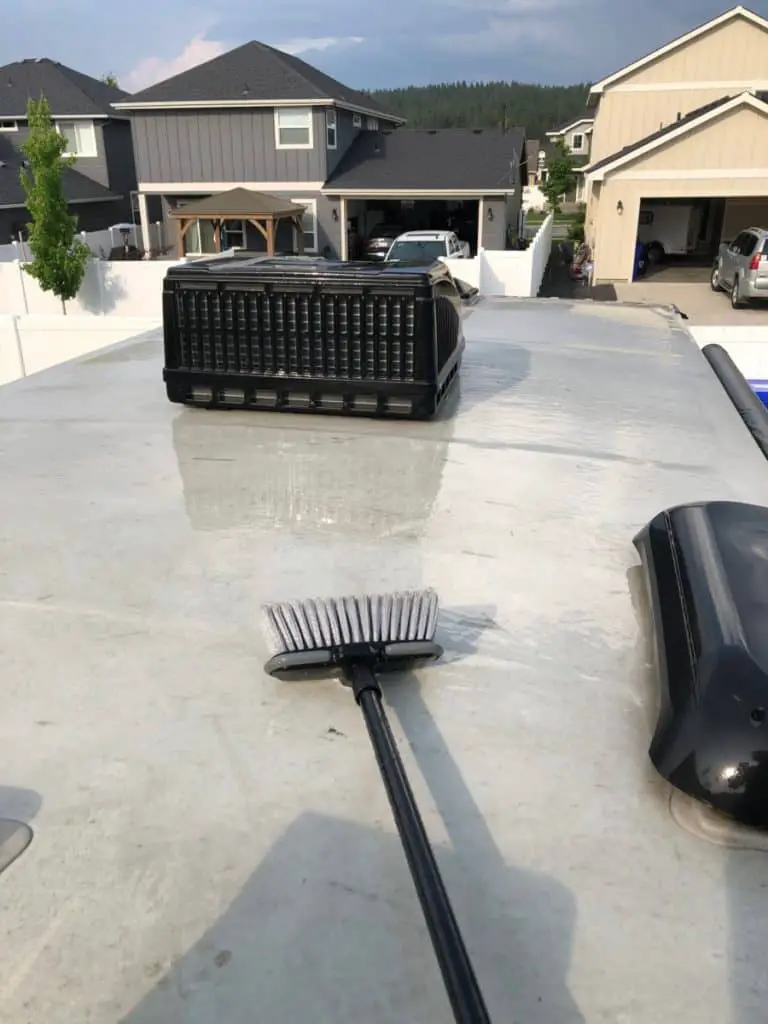
You will want to clean your roof a few times per year so you do not get a buildup of dirt and grime. We use a simple soft bristle car wash brush with dish detergent to clean ours every few months.
Seal your RV
Be sure to take a close up look underneath the RV and seal any other vents or exhausts that may attract animals. This is a small investment of time now that can save you a lot of time in the future. We use expanding foam to make sure all penetrations under the RV or around the RV are filled. Make sure to check the seals on the vehicle as well. Look at the seams on the body, roof, and windows.
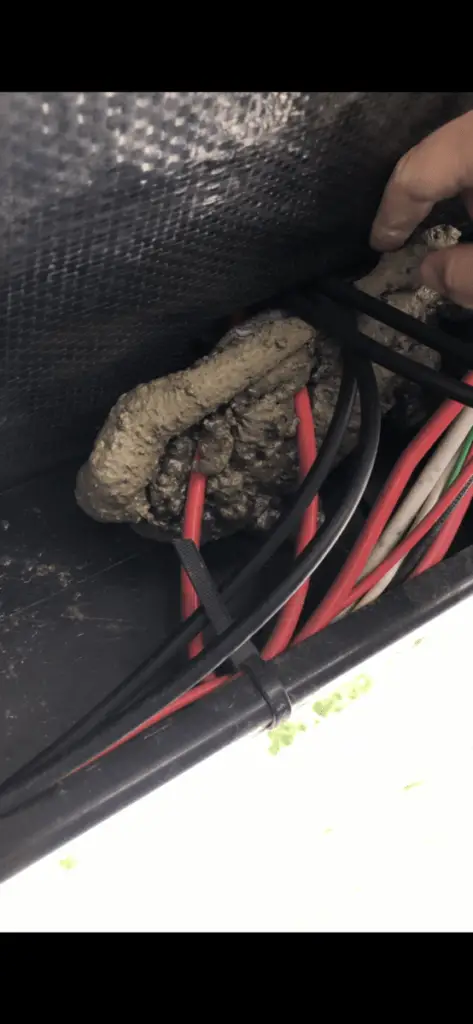
Make sure to be thorough with this inspection, because even the smallest cracks or holes can allow water and moisture in, which is a big problem. Invest in a high quality sealant product and fix these holes before they become an even bigger issue. The user manual for your particular model of RV should have recommendations on which sealants will be the best fit for the specific materials used in the construction of your trailer.
Interior/Battery Storage Prep
There are a few other interior preparations necessary before putting your RV into storage. Remove the fuses in your fuse box or turn off your batteries at the cutoff switch, if equipped, especially those for the biggest appliances and store in your house or somewhere warm. If you are in a cold climate, remove the batteries from everything in the RV and store inside on a piece of wood not directly on concrete. Storing your batteries inside will prevent your batteries from freezing and permanently damaging them. You will also want to remove batteries from items to preserve their life including small things like flashlights.
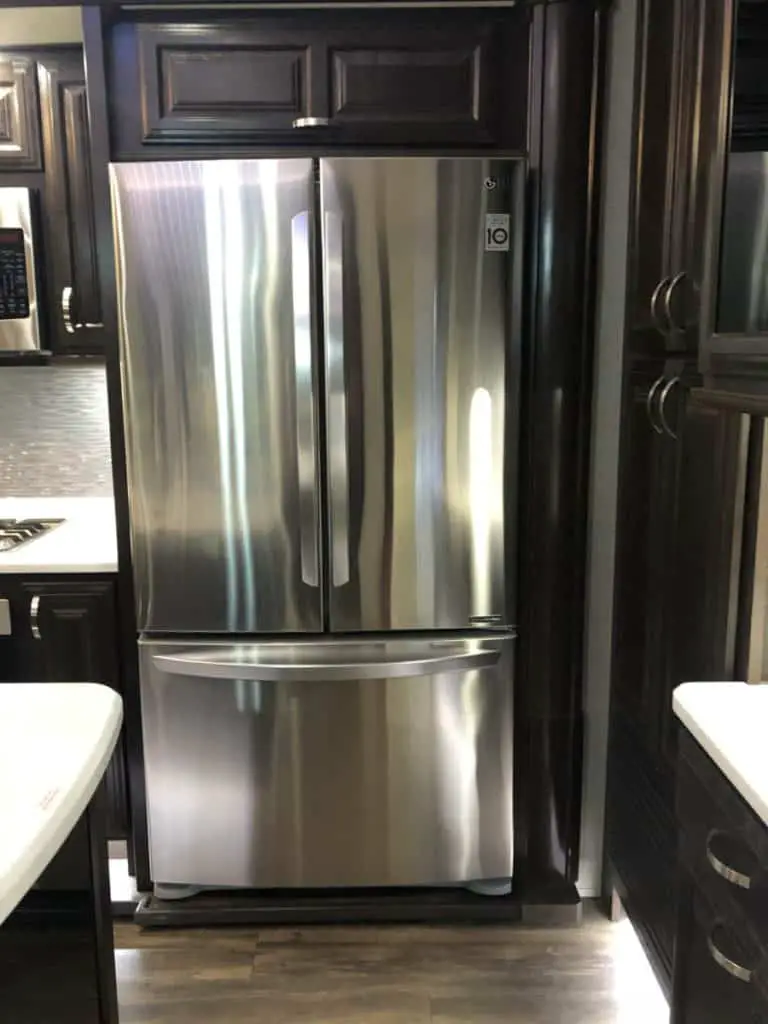
Turn off all appliances and clean them thoroughly, including interiors if possible. Leave all of the appliances open, so that there is no opportunity for anything such as moisture or mold to gather inside them. After one final check of the interior, it is time to prep the exterior of the RV for storage.
If you have blinds and curtains, make sure they are closed to prevent natural light from entering the RV. If you have a cover, you may skip this step. If you have cellular blinds, make sure they are stored all the way up as they can stretch out if left down for months at a time.
Tire Storage Prep
If you are going to park the travel trailer in storage for a significant length of time without removing the tires, make sure to periodically move the RV so that the tires do not develop flat spots. Also check the tire pressure in all tires and inflate or deflate according to manufacturer’s recommendations. If the RV is being stored outside, cover the tires to protect them from sun damage. Be sure to put something between the tires and the ground as well, especially if outside.
Engine/fuel Prep (if equipped)
The engine of the vehicle must also be prepared for storage. If you are not planning on (or can’t) start the RV while it is stored, use marine fogging oil in and around the engine’s cylinders to protect them and hopefully prevent engine damage while the RV is in storage.
If you can start it, try to let the engine run for at least two hours monthly. This will ensure that the engine is still functioning as it should. If you have a generator, you will also want to either start it, or run fogging oil in the head.
Before putting your camper in storage, fill the fuel tank most of the way full and add some type of fuel stabilizer. This will keep the engine healthy and prevent freezing. Before storing, also make sure you take care of regular maintenance, such as checking antifreeze levels, and getting an oil change. This will make sure that the RV and its engine system is completely healthy before entering storage. Plus, by not doing this routine maintenance, damaging compounds could be building up in the engine. Be sure to read the owner’s manual for your specific model of RV to ensure that it is prepared properly.
Security in Storage
Make sure you have locked up your trailer and/or changed your baggage locks as many keys on trailers or RV’s are keyed alike. To learn more about locking your RV, read the full guide here.
Slide Out Prep

Should your RV have any slideouts, make sure to lubricate the seals as well as mechanical hardware so they do not get stuck shut and rip a seal the next year while taking it out of storage or get brittle. Learn more about this from our top 22 maintenance tips article.
Insurance
Now that your camper is prepared for storage, don’t forget to consider insurance. You likely already have some form of insurance on the vehicle that covers accidents as well as roadside assistance. If you don’t, it may be illegal, as in the U.S. there is a minimum amount of insurance required on all road vehicles.
But, does that insurance policy cover damages that occur in storage or thefts of personal items? This could be animal damages, weather, or vandalism. Either way, check your policy and update it if it does not cover the risks of storage. This will provide increased security for your vehicle as well as peace of mind for you.
Hopefully, this article provided and informational and educational run down of the different options for RV storage as well as the benefits and detriments of them. In addition, basic preparations to store a camper were also covered.
Overall, there are so many different places to store a travel trailer that it can be hard to definitively state which one is best overall, but rather, it depends highly on an individuals situation. Furthermore, it depends on the amount of resources and capital available to the person looking to store their trailer.
Any storage method can work, however, as long as the RV is properly prepared for storage. This means that both the inside and the outside of the vehicle must be adequately cleaned and prepared. The ways to do this will vary widely between RV models, but the information for your specific model can be found either in your owner’s manual or online. If both these methods fail, or you lack the technical know-how to complete them, there are services that will help you prepare your RV for storage available at your local dealer.
Be the first to be notified about FREE tips, hints, coupon codes, and email-exclusive information. All for FREE!