What Is the Thickness of RV Slide Out Floors? A Comprehensive Guide
RVs are made to be durable and comfortable. One feature of this is the flooring and how well it can withstand general wear and tear.
RV flooring is typically 1 inch (25.4 mm) to 1.5 inches (38.1mm) thick and is made from layers of insulation, plywood, laminate boards, and carpet. Slide-out floors don’t have added insulation, so they’re thinner than the rest of the flooring.
Let’s take a look at the various thicknesses of RV flooring, how to measure them, and which one is best suited to your RV.
How To Measure the Thickness of Your RV Slide out Floor
Measuring an RV floor’s thickness isn’t as straightforward as pulling out a ruler and calling it a day. Floors in vehicles like RVs are made up of multiple layers, each contributing to its overall thickness.
- Subfloor: Subflooring is a sturdy building block that primes the vehicle for more layers to go on top. This is usually made of plywood.
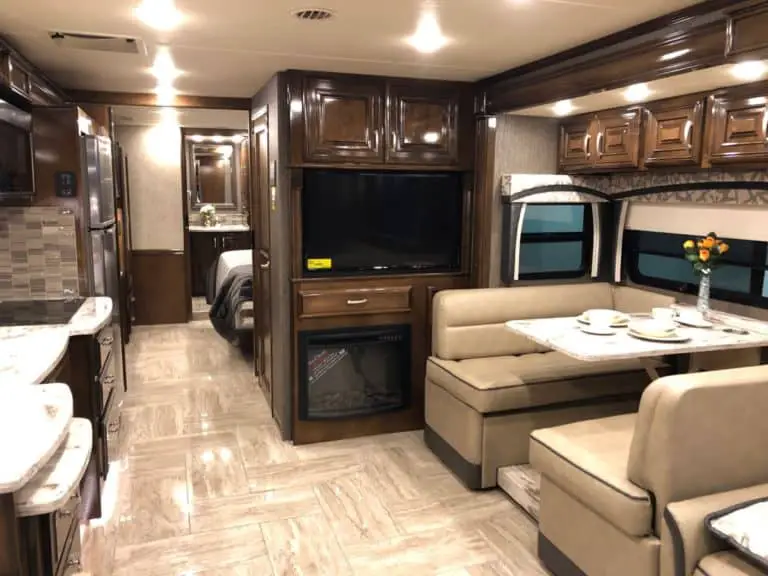
- Top layer: The final layer is made for comfort and aesthetic. Usually, people choose to install high-quality vinyl or linoleum.
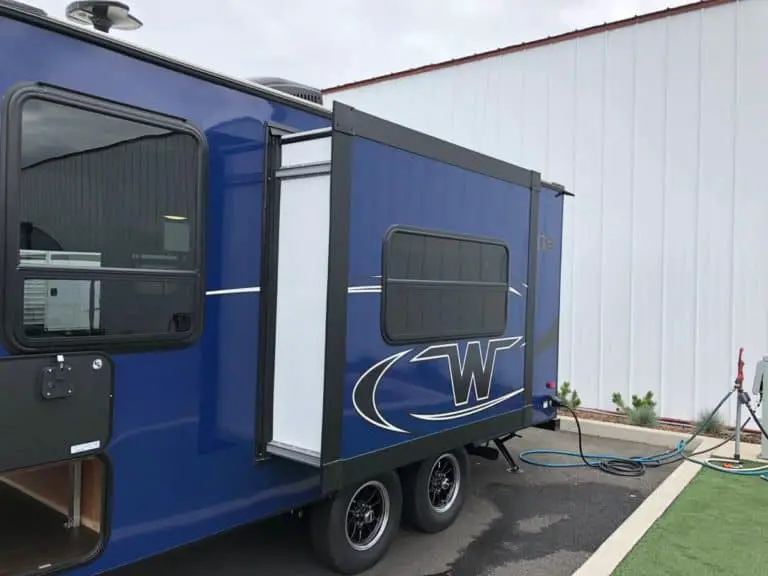
Measuring the thickness of a slide-out floor is different from a regular floor. Unlike the rest of the RV, the slide-out floor doesn’t typically have its own insulation— unless you add additional insulation material on the outside, such as an insulated blanket.
Average RV Floor Thicknesses
The subflooring in an RV ranges from ¾ to 1 inch thick (19.05-25.4 mm). This may sound thin, but remember that the floor is multilayered. A slide-out floor doesn’t have this added support when pulled out, so you can consider a thicker variant if you want.
The laminate layer above the plywood is usually around 0.5 to 0.7 inches (12.7 to 17.78 mm). Finally, the carpet, if you choose to include one, is typically ¼ to ½ an inch (6.35-12.7 mm).
Many RV owners prefer to have plain and simple plywood slide-out floors, leaving the average thickness ¾ to 1 inch (19.05-25.4 mm) overall.
Methods for Measuring RV Slide out Floor Thickness
There are a couple of methods you can use to get an idea of how thick your RV’s slide-out flooring is.
- Use a tape measure: Slide the floor out and put a tape measure or ruler against the side to get an accurate and up-close measure of the thickness.
- Drill a hole: Using a particular drill bit, you can get an idea of how thick the flooring is. For example, if you use a ¼ inch (6.35 mm) bit and it penetrates halfway through the floor, then you can safely assume the floor is ½ (12.7 mm) thick.
Other than actually choosing the floor yourself and having it installed, these are the only valid methods to test how thick the slide-out floor of an RV is.
How To Replace RV Slide out Flooring
Human error is always a factor to consider in vehicle construction, and RV slide-out floors aren’t exempt from this. You may find yourself battling with your RV flooring for one of the below reasons:
- Incorrect thickness
- Incorrect dimensions
- Water damage
- Breakage
- General wear and tear
Water damage and rot are quite huge issues and a huge reason why many RV owners replace their floors. Let’s take an in-depth look at how to replace your flooring.
Remove the Old Flooring
The first step to replacing the damaged baseboard is to remove the damaged boards. Using a pry bar, remove each sheet or board.
If only a small area is damaged, you may only need to remove and replace this area. However, sometimes the baseboard is made of one large plywood sheet and it isn’t possible to isolate the damage.
You’ll most likely need to inspect the joists and remove any nails or screws holding the floor in place during this process. Ensure you remove these before trying to pry the board off. If you need to remove screws, use a drill to back them out.
Take a look at the below video for an example of how to remove flooring damaged by water.
Inspect the Floor Joists for Damage
If you’re lucky, any water damage dealt to the subfloor is isolated to the baseboards. In some cases, the joists might also be damaged.
The joists are essential for structural integrity, and any damage to them would make the replacement process more extensive.
If the joists are wet but not rotted, leave them to dry out for a few days before installing a new subfloor.
Take Floor Measurements
Once all the old material is gone, take new measurements to ensure you get the right fit for your vehicle. Below are the steps you need to take to get the area of your slide-out floor.
- Using a tape measure, measure the length and width of the slide-out floor. You’ll use these numbers to work out the total area of the floor.
- Calculate the area of the floor. Simply multiply the width and length to get the slide-out floor’s area.
- Increase the calculated amount by 10%. This extra 1accountsunt for any cuts or waste that may happen during installation. It’s always better to get a larger sheet and cut it down later than it is to get a smaller board.
You can take this calculated area to a professional for them to size your new floor. Finding the actual thickness of the flooring comes later when choosing the material the new flooring will be.
Choose a New Flooring
Subflooring is usually made out of plywood sheets, so let’s assume for the time being that this is what the new subflooring will be too. The real choice comes when it comes to the top layer.
Common choices for flooring top layers are:
- Vinyl
- Carpet
- Laminate
- Hardwood
Vinyl is the most popular choice for the below reasons:
- It’s water-resistant
- It’s easy to clean
- Vinyl can be made to look like other materials, like marble or hardwood
- Vinyl is incredibly affordable
- Vinyl plans have a level of heat-resistance
The main disadvantage of vinyl flooring is how slippery it is. This is an especially prominent issue because they aren’t good at resisting moisture.
For more information on the various flooring materials and how much they cost, take a look at J.D. Powers’ article on the topic.
Install the New Flooring
Apply structural adhesive to the exposed joists to bond the new subflooring, and screw it in with 2-inch (50.8 mm) wood screws. You can change the size of the screws depending on how thick the plywood subfloor is, so the screws don’t stick out.
Apply adhesive on the subfloor to allow the top layer to adhere, and cover the screws holding it in place. Focus on the edges of the top layer specifically, so the top layer doesn’t start coming up and peeling off.
Conclusion
The thickness of an RV slide-out floor depends on the materials used, but the average thickness is about 1 inch (25.4 mm) including the subfloor and top layer.
There are a couple of super simple methods of measuring your RV slide-out floor’s thickness, specifically just taking a measuring tape to it or drilling a hole with a particular drill bit size.
Be the first to be notified about FREE tips, hints, coupon codes, and email-exclusive information. All for FREE!

