The Best Way to Clean and Waterproof Your Popup Camper’s Canvas
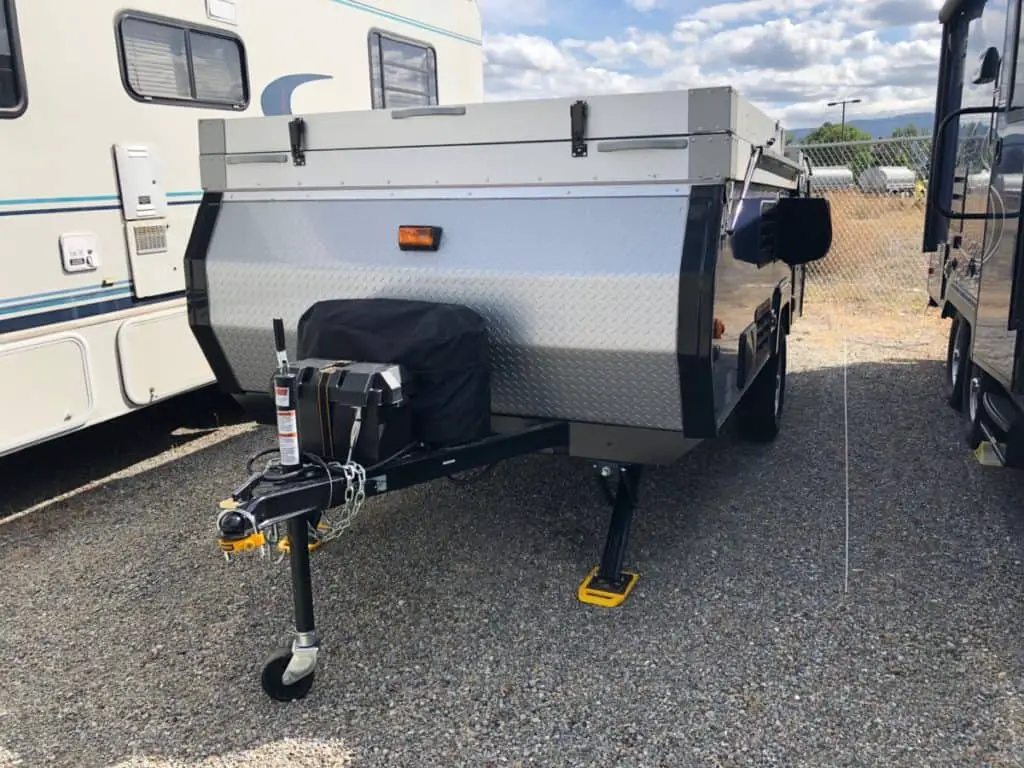
Popup campers are great for the low-maintenance traveler, but cleaning the canvas popouts is necessary for keeping dirt and mildew at bay. Regularly cleaning and treating the canvas can help it last longer, and keep harmful elements like mold and mildew out of your camper. Knowing how to clean the canvas properly will keep your vehicle cozy, dry, and safe for the whole family. So, how do you clean a camper canvas?
How do you clean a popup camper canvas? A camper canvas can be cleaned by starting off dry-scrubbing, using special cleaning products, vinegar, or even homemade cleaners. The best approach and chemical will depend on whether you are cleaning for mildew, dirt, or simply maintaining the canvas. Make sure to treat the canvas after it is cleaned.
How to Clean the A Tent Trailer’s Canvas:
You should clean your camper’s canvas regularly to prolong its lifespan and keep pesky elements like mold and mildew from affecting your next trip. Whether you’ve been using the camper, or it’s been sitting in storage, it still requires regular upkeep to maintain its appearance and function.
Always check your camper’s manual for specific instructions regarding its canvas material, but here are some general tips that should work for most types of camper canvas.
What cleaners to use:
To clean your camper’s canvas, you may want to use a detergent-free, mild soap. Detergent can potentially harm the finish on your canvas and should be avoided in most cases. However, there are some cases where mild detergent or even diluted bleach can be helpful. Here are a few types of soap that camper owners recommend for regular cleaning:
- Lux soap, Ivory soap, or other mild soaps for gentle cleaning
- Oxiclean, Woolite, or other mild laundry detergents that clearly state they will not bleach or discolor fabric
- Vinegar or biodegradable, storebought cleaners if you’re hoping for a more environmentally friendly cleaning method
Always test your cleaning method on a small patch of the camper’s canvas. This will help you make sure the solution you’ve chosen will not damage the material before you clean the entire canvas.
How to Clean your Canvas:
There are a couple of options for cleaning your camper’s canvas. You can clean the canvas while it is still attached to the camper if preferred. This may make the process easier. However, if you do not want to risk water entering your vehicle, you can find your camper’s instructions for removing the canvas to clean it that way. If you have black streaks on your camper, follow this guide to get rid of them the easy way.
Cleaning with canvas attached:
Grab a bucket, a hose, a scrub brush or broom, a sponge, gloves, and any protective gear you may need to keep the cleaner off of your skin and clothes. Start by using the scrub brush or broom to gently remove any dirt and debris.
Next, mix your chosen cleaner in a bucket with some warm water. Make sure the canvas is securely attached, and all areas around the canvas are thoroughly protected. Wet the canvas and use a sponge to scrub the dirt off of the material gently.
Once the canvas is completely cleaned, rinse excess soap off of the material with water and allow it to dry.
Cleaning after removing the canvas from the camper:
Grab a bucket, a hose, a scrub brush or broom, a sponge, gloves, and any protective gear you may need to keep the cleaner off of your skin and clothes. Start by using the scrub brush or broom to gently remove any dirt and debris.
Next, mix your chosen cleaner in a bucket with some warm water. Since the canvas is detached, you can make sure to really soak the canvas with water and cleaner. Then, gently scrub the canvas with a sponge to remove dirt without damaging the material.
Rinse the cleaner off of the fabric and allow it to dry thoroughly before reattaching the canvas to your camper.
How to Remove Mildew:
Removing mildew may seem challenging, but there are plenty of ways to remove these pesky stains in no time. You’ll be impressed with the results you get with the right product and a bit of scrubbing.
Here are a few products that popup camper owners suggest for removing mildew.
Products to remove mildew:
- Vinegar
- Commercial mildew stain remover
- Oxiclean or mild liquid detergent
- Tea tree oil
- A combination of soap and a very small amount of bleach. Too much bleach can damage your canvas but using a small amount is a good way to prevent the spread of mildew. It is advisable to spot test this method before applying to the entire affected area.
How to apply and use removal products:
Knowing how to apply and use these removal products will depend on the method you choose. Here are some suggestions for an easy and successful application.
Remove the canvas from the camper so you can scrub thoroughly and fully soak the canvas with the cleaning solution. Apply your preferred mildew removal method with water and thoroughly scrub with a sponge. If you have any particularly difficult stains, you can use a scrubber brush, just be sure not to brush too hard, or you will risk damaging the material.
Allow the cleaner to rest for the amount of time indicated on the bottle if applicable. Rinse the cleaner off of the area with your typical soap cleaner and water and allow to dry.
How to clean mold out of canvas
Mold is another factor to consider for proper camper maintenance. Once mold has developed, it can be a pain to eliminate. Here are a few tips for cleaning mold out of your camper’s canvas.
- Open the Camper: First, you will want to open the camper. This will help it dry out, eliminating the optimal environment for mold growth. The sun can help dry up any moisture as well. This also allows you to clean the existing mold without the spores spreading throughout the vehicle.
- Dry scrub the canvas: Next, you will want to dry scrub the canvas to remove any loose mold particles before treating the area. Make sure to wear a mask and use a vacuum to catch the mold particles.
- Treat the mold: Finally, you will need to treat the mold to remove it effectively. There are several methods people use for cleaning mold out of the canvas. Here are a few of your best options:
- Rubbing alcohol: Rubbing alcohol is a great home remedy for treating mold. If using this method, spot test an area before applying to avoid color fading. You may want to dilute the alcohol a bit if needed. You can use a sponge to apply the rubbing alcohol to the affected area, and if the stain is stubborn, you can gently scrub with a brush. Once you’ve treated the stain, allow it to dry without rinsing.
- Vinegar: Vinegar is another classic home remedy for mold. Its acidity stops the spread of mold, and it also neutralizes any odor the mold gives off. Mix vinegar with water. You can add a soap as well if you have difficult stains to remove. Apply to the affected area, scrub, and let the mixture sit on the stain for several minutes. Rinse with a wet sponge and allow the area to dry completely.
- Tea tree oil: Tea tree oil is a natural oil with anti-fungal properties. This is great for those looking for a natural, chemical-free option for removing mold. Mix tea tree oil with water and apply to mold stains.
- Commercial products: There are several products out there that popup camper owners swear by for removing mold from their camper’s canvas material. Here are a few options you should consider:
How to prevent mold and mildew from forming on your camper canvas?
Of course, we’d all prefer not to have to deal with mold or mildew in the first place, right? These elements are extremely common in camper canvas due to exposure to moisture. However, with a few precautionary measures, you can work to avoid the formation of mold and mildew in your camper. Here are some tips for preventing mold and mildew from forming on the canvas:
- Check roofs or canvas for leaks. Leaks are a major cause of mold and mildew formation for obvious reasons. Check your seals and any other entry points for leaks to prevent excess moisture from entering your camper.
- Check pipes for leaks. You will need to repair any leaks promptly to prevent further damage.
- Repair leaks. If you do find any leaks, you’ll need to repair them promptly. You may be able to caulk or repair the leaky areas yourself, but it is important to call a professional if you need assistance repairing the damaged area.
- Waterproof your canvas. Many canvases come with a waterproofed finish, but it’s always smart to add an extra treatment, especially after significant use. Usually, the waterproofing will wear off over time, so you’ll need to reapply to ensure your camper stays dry.
- Always put your camper away when it is dry, never put it away wet.
How to waterproof your canvas
If you think it might be time to reapply a waterproofing treatment to your camper, you’re probably right. While there is no standard rule of thumb for how often to waterproof, frequent treatments are the best way to guarantee a dry camper.
It’s a good idea to spot check the canvas’s waterproofing. Spray a small area with water and observe whether the water beads up or soaks into the material. If it is beading up, the canvas is still waterproof, and there is no need to apply more waterproofing. If the water soaks into the canvas, it is time to reapply your waterproofing product.
You’ll need to find a product specifically created to waterproof camper canvas. We recommend this product as it is our favorite that works great on our boat canvas. Using products not specifically designed for this purpose may decrease the effectiveness of the waterproofing or even damage your canvas.
Other products to waterproof your camper canvas:
- 303 High Tech Fabric Guard
- Kiwi Camp Dry Heavy Duty Water Repellent
- Scotchguard Heavy Duty Water Shield
Always consult your user manual for the ways the company recommends waterproofing your canvas. Make sure to use a product specifically designed for camper canvas, and you’ll be sure to stay dry in inclement weather.
How to repair your camper canvas:
In the case that your camper canvas needs repairing, first, consult your user manual to get recommendations specific to your camper. You will want to find a mending kit specifically designed for camper canvas to prevent further damage. You will want to apply a patch of canvas with a strong adhesive to the affected area. This will help prevent further leakage.
If the leak cannot be repaired, you will need to consider replacing your canvas.
Conclusion
Cleaning, maintaining, and frequently waterproofing your camper can make all the difference in how long it lasts. Whether the camper is in storage or infrequent use, regular cleaning, maintenance, and leak repairs are crucial to extending the lifespan of your camper’s canvas. Taking a few precautionary measures is well worth the effort to keep your camper in good shape. With these tips and tricks, you’ll be able to enjoy a beautiful and functional canvas and many dry adventures well into the future.
Be the first to be notified about FREE tips, hints, coupon codes, and email-exclusive information. All for FREE!


