Can You Add Shocks to a Travel Trailer?
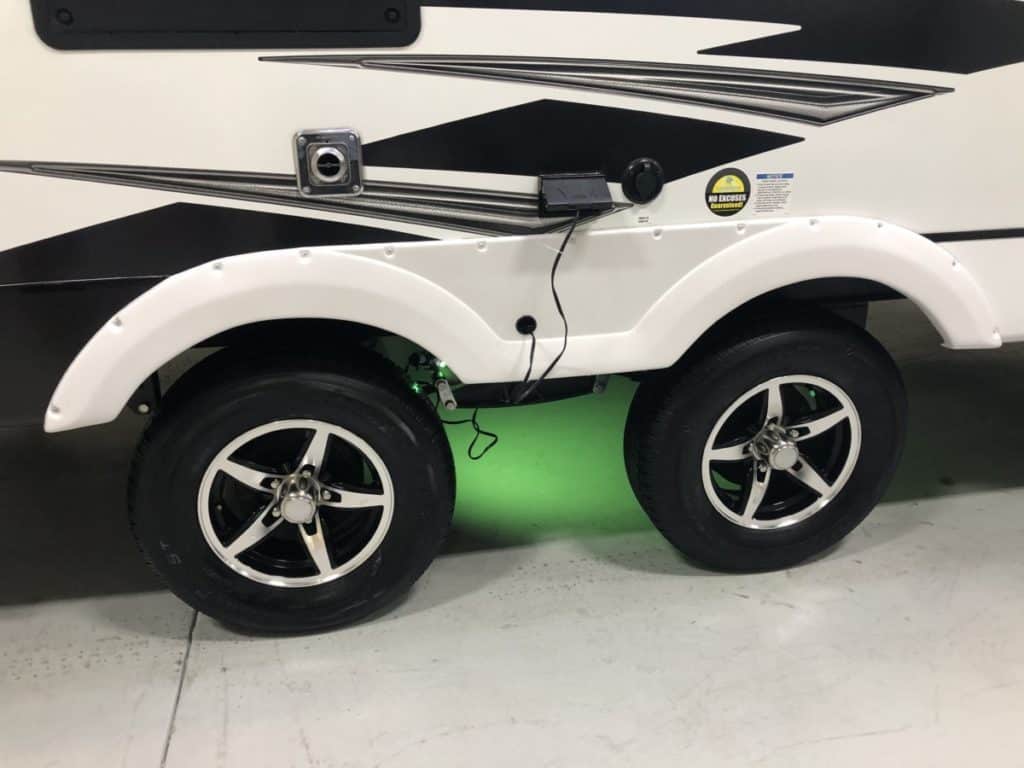
You finally bit the bullet and purchased your very own travel trailer. You may have opened the door on your first trip with your new trailer, however, to discover that all of your belongings are scattered all about the floor. This may have you curious about the trailer’s suspension system, and whether or not you can add a shock absorber to improve the ride stability.
You can add shocks on a travel trailer, some even come with the mounts pre-installed. First, purchase all the hardware including the mounting brackets, nuts/bolts, and the shocks themselves. Most trailer supply companies will have everything that you need to complete this project in a package deal.
After you have made your purchase, you can get to work adding the shocks to your trailer. However, since the original manufacturer of the trailer had no hand in producing the shocks and related hardware, there may be no definitive answer or instructions on how to go about adding shocks to your trailer, if it is even possible. Rest assured, it is possible to add shock absorbers to travel trailers with both torsion axles and leaf spring axles.
Why Even Bother adding shocks to your travel trailer? Are There Any Benefits?
Adding shocks to your travel trailer will aid in reducing the sudden jolt from bumps and potholes in the road, providing a much smoother ride. This will ensure that all of your belongings packed within the trailer will remain damage-free and in its storage area.
The addition of shocks also helps to reduce trailer sway, which is a result of uneven pressure applied to the trailer’s leaf-springs. One leaf-spring will compress while the other spring extends, causing the trailer to sway from side to side.
At high-speeds, trailer sway can become a safety concern. Sometimes trailer sway can become so severe that the trailer will topple over, and cause the vehicle to flip as well. Needless to say, this is a dangerous situation.
Adding shocks to your travel trailer is a simple and effective way to increase the safety of you and everyone else around you while you are towing.
Why Don’t Manufacturers Include Shocks On Their Trailers?
Simple – it all boils down to cost. Manufacturers often try to beat competitors’ prices and to do so, some corners must be cut. Travel trailers operate sufficiently without shocks, so manufacturers don’t make them a top priority in their production plan.
Although some models don’t have them, trailer manufacturers often produce higher-end models with the shocks included. It’s the same concept as motor vehicles; if you want the plush, leather interior with heated seats you have to pay for them.
If It’s Possible to Add Shocks to a Travel Trailer, How Do You Do It?
Adding shocks to your travel trailer entails purchasing a shock and mount kit, which you can purchase from nearly any reputable trailer supply company. This kit is one of the best on the market. Included within this kit are the shocks, U-bolts, mounts, and the required connection hardware. You will also need a drill and a ratchet set to secure all the hardware connections. Detailed installation instructions are found here, but we have provided a recap below. The best part is that these can be installed in an afternoon.
The Roadmaster kit is available for travel trailers with three sizes of axles:
Listed below are the steps involved with installing shocks to your travel trailer.
Step 1: Attach the Lower Mounting Bracket
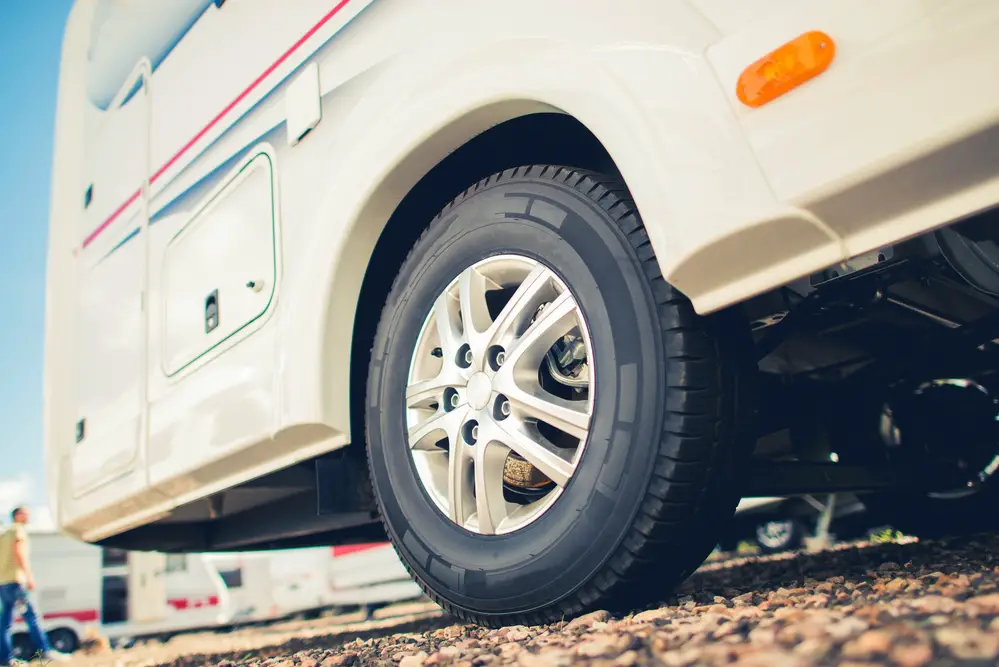
You will first need to identify the spring-leafs of the trailer. These are easy to find as they typically sit on top of the rear axle. They appear as multiple strands of steel stacked upon one another and curve slightly upwards. You will then need to take 2 of the U-bolts from your hardware kit (This a self-explanatory name, it is a U-shaped piece of steel with threads at either end!) and place them so that the curve of the bolt rests on top of the rear axle. One bolt will go on the inside of the leaf springs and the other will go on the outside, facing the wheel.
You will then need to take the lower mounting bracket and secure it to the two U-bolts. First, push the mounting bracket against the leaf springs and feed the U-Bolts through the holes. The mounting bracket, when installed correctly, will be flush with the leaf springs so that they appear to be joined. After this, put the respective washers on the U-bolt and secure the bracket with the nuts included.
Make sure that you torque the bolts to their suggested specifications, which should be listed either on the hardware box or a spec sheet included with the kit. If you cannot find the torque specifications, it would be in your best interest to contact the manufacturer for this information.
Step 2: Secure the Upper Mounting Bracket
After the lower mounting bracket is secured to the U-bolts and leaf springs, you will need to get to work on mounting the upper bracket. The most popular styles of upper mounting brackets are U-Shaped as well, but in the case of Roadmaster, attach flush to your frame to accept the upper end of the shock. This bracket should be at a 30-degree angle with the lower bracket, however, there is quite a bit of room for error as many people have mounted their shocks vertically and had no issues.
To mount the bracket, you may need to drill holes in the frame so that the bolts can be inserted to secure the bracket. This will be the most labor-intensive part of mounting shocks to your trailer.
To drill holes into the frame of your trailer you will need a drill with a variable speed motor and a drill bit. Although there is debate as to which drill bit will perform the best, just about any twist bit will work. Have some kind of lubricant nearby, such as WD-40, as the metal will get hot and start to smoke. You will need to stop drilling every once in a while to apply more lubricant.
First, place the upper mounting bracket on the frame where you will be installing it. Mark where the holes are on the frame so you know where to drill the mounting holes. Get your drill and put it on a low-speed setting, then get to work by applying consistent pressure against the drill while the bit does the rest of the work.
After the holes have been drilled, place the upper mounting bracket back onto the frame and put the bolt through the holes. Next comes the washers and finally the nuts. Fasten the nuts onto the bolts and, once again, torque to factory specifications.
Step 3: Insert Your Shock
All that is left on this side of your trailer is to attach the shock. This is a pretty straight-forward process. Insert one end of the shock into the upper mounting bracket, align the shock’s hole with the mounting bracket’s holes then push the bolt through each of them. Screw the nut onto the bolt and torque once again.
Now that you have a shock absorber dangling from the frame of your trailer, it is time to finish this side of your trailer’s new suspension system. Pull the dangling end of the shock into the lower mounting bracket and repeat the process as described earlier for connecting the shock to the upper mounting bracket.
Step 4: One More Time and You’re Finished!
Repeat this very same process for the opposite side of your trailer, or double time if you have a tandem axle trailer then voila! Your trailer has a brand-new shock kit installed. It is suggested that you check back over all the connections, to ensure that they are torqued properly.
FAQ
Should you put shocks on your trailer?
If you are having trouble with your travel trailer swaying on the road, go down dirt roads a lot, or always have things all over the floor when you arrive at your campsite, you may want to look into adding shock absorbers on your travel trailer.
Do you need to put shocks on both axles or just one?
If you are looking to install shocks on your trailer, you will need to install on both axles. If you install them on just one, they can operate independently and cause even more harm driving than if you never installed them in the first place.
How do you know if your RV shocks are bad?
To tell if your RV shocks are bad, first drive over a speedbump. If it settles down then they are still good, if the RV is bouncy, then you know it is time to replace your RV shocks.
Wrapping Up
You can add shocks to your traveler trailer, within just a single day. It is quite the project, though, and requires a bit of elbow grease. However, the benefits of a new shock system will provide you with a much smoother ride, increased safety ratings, and a mess-free floor after hitting the road!
There are many companies in the industry providing trailer accessories and services that you can get in touch with to purchase a trailer shock kit. However, you must be sure to provide them with the specific model of your trailer. If you don’t, you risk getting the wrong parts and they will not match up when you are attempting to install them.
If all this seems way over your head, you can contact an aforementioned trailer service company and they may be willing to install shocks on your trailer for you. This is probably the best route to take due to their extensive experience within the trailer industry. They have trained professionals ready to work for you so that you can focus on more important things.
Be the first to be notified about FREE tips, hints, coupon codes, and email-exclusive information. All for FREE!

